
Monday 10 December 2012
New Cushions
Back in the summer, I made a cushion for a friend with some lovely African style material that she picked up in Ridley Road market in East London. Luckily, she liked it so much she asked me to make another one for her. I really like this material, I must get up to Ridley Road myself in the new year and get some for myself!
 You can find out how to make this cushion by reading my Easy Peasy Envelope Cushion Cover tutorial.
Monday 3 December 2012
Exciting news!

As you can see, we're going to be expecting a little one in 2013. This should mean that I always have a willing model on hand to try showcase my designs and try out some new products. Although, whether I'll have any time for crafting remains to be seen!
I've already started lusting over lots of gorgeous baby products, so I will have a go at making some new things and will post some tutorials and inspiration along the way.
Homemade Christmas Cards
Now it is December, it's officially OK to start getting excited about Christmas - yay! After a failed attempt to buy some 'nice' cards for my close family that didn't cost about a fiver (when did cards get so pricey?), I decided to make my own. Here are my first attempts:
 To create something similar, lay out your buttons on a different card or blank piece of paper and then gradually sew the buttons on the card you're going to use in sequence - easy! I used double thread and taped down the knotted ends on the inside so that they don't come loose. And I even added a little bell on the top for that Christmas sound effect.

For my second design, I cut out some mini stockings out of red felt, attached a bit of silver ribbon to the top and then secured them to the card by sewing on the buttons. I've left spaces on both to sew on people's names and I think next time I might sew the stockings on the card with a blanket stitch and even fill them with little presents.
With some Christmas carols on and festive biscuits to nibble on, making these was surprisingly therapeutic so hopefully I'll have time to make some more and maybe get a bit more adventurous with my designs.
Friday 26 October 2012
A Fine Fox
The boy and I managed to escape to the country last week for a few days in beautiful Devon. We were absurdly lucky with the weather with lots of sunshine which is highly unseasonal for October.
On the way back, we stopped off for a night in Wiltshire with the lovely Robin and Mould to meet the gorgeous new addition to the family, their beautiful daughter Edie.
And they gave me a belated birthday present which is such a cute idea that I wanted to share it. It's a teatowel that is also a Sew Your Own Fox!

It comes complete with instructions to cut out and sew your fox and they even have a video online at www.mibo.co.uk. They also have sew your own owls, lions and squirrel tea towels. Now I just have to work out if I want to keep it as a teatowel or cut it up. Think the temptation to sew it will win.
I liked it so much that I've since been lusting after all kinds of lovely stuff on the Mibo website. They are a small UK company based in Hove in Sussex and they make all kinds of things from paper animals to adorable printed T shirts. I'm already planning to get organised and buy some Christmas pressies from the site.
Mibo website
On the way back, we stopped off for a night in Wiltshire with the lovely Robin and Mould to meet the gorgeous new addition to the family, their beautiful daughter Edie.
And they gave me a belated birthday present which is such a cute idea that I wanted to share it. It's a teatowel that is also a Sew Your Own Fox!
It comes complete with instructions to cut out and sew your fox and they even have a video online at www.mibo.co.uk. They also have sew your own owls, lions and squirrel tea towels. Now I just have to work out if I want to keep it as a teatowel or cut it up. Think the temptation to sew it will win.
I liked it so much that I've since been lusting after all kinds of lovely stuff on the Mibo website. They are a small UK company based in Hove in Sussex and they make all kinds of things from paper animals to adorable printed T shirts. I'm already planning to get organised and buy some Christmas pressies from the site.
Mibo website
Wednesday 24 October 2012
Enjoying Autumn
Autumn is one of my favourite times of the year. You can't beat a walk in the woods as the leaves change colour, ending up in a warm country pub.
And you get mushrooms and amazing toadstools like these! They make me think of children's books when there is usually some sort of fairy or woodland creature who lives under the red and white roof.

And you get mushrooms and amazing toadstools like these! They make me think of children's books when there is usually some sort of fairy or woodland creature who lives under the red and white roof.
Thursday 4 October 2012
Orla Kiely Excitement Overload
It
was actually quite a few weeks ago now when I walked past the Uniqlo window and
did a double take. Was it… could it be… Orla Kiely prints in Uniqlo? Why hadn’t
I heard about this? I raced in, convincing myself that the stuff would probably
all be really expensive but I was wrong. Not only was there a whole range of
scarves, dresses, jumpers and tops in the instantly recognisable print but they
started at under £10!


Of
course, I’m sure I’ll find it hard to actually part with any extra stuff and
I’m already thinking about crafting projects that I can make with the lovely
soft scarves. A skirt or dress for a toddler would look cute but can I part
with them…?


Saturday 1 September 2012
Helping hens to be crafty
A few weeks ago, I ran my first craft workshop at a hen party which was great fun. The lovely bride Hannah is a keen crafter herself, so her sister and bridesmaid organised a relaxed afternoon of tea, cakes and crafting at her house before the ladies headed out on the town.
As most of the hens were crafting novices, I needed something that they could sew by hand and decided on a zip up make-up bag. The finished bag looks professional, so I think it is really satisfying to make and is also useful which is important for converting newbies to crafting!

When I arrived to set up, I was pleased to see that the cake stands and containers that I'd chosen to display the materials fitted in very well with the vintage, tea party theme that the bridesmaids had gone for.
After the hens arrived and had a chat over tea and cake, they came up to choose their material and I showed them how to do the first few steps in small batches. Over the next few hours the ladies set about sewing while catching up and nibbling on more tea and cake. The best bit was seeing how genuinely chuffed the hens were with their make-up bags when they had finished.
I also learnt a few crucial things:
1. Running a workshop means that you will be so focused that you will forget to take any photos once things are under way. So apologies for the lack of action shots - here are a few that the bridesmaid kindly forwarded on to me. The main thing I forgot to get pictures of were the completed bags which all looked great. So you'll just have to trust me on that one until I can get hold of some photos.
 2. Beginners are nervous to start with and so sew relatively slowly. Sounds obvious I know and although I sort of knew that this would be the case, I think next time I would get the hens to make something a bit smaller.
3. Crafting workshops are fun! I had a great time and realised that my experience of running workshops in my day job meant that I really enjoyed the whole afternoon and wasn't as nervous as I thought I'd be. I would definitely be up for running more and now I'm thinking about a whole host of options and I have lots of ideas for other things to make at hen parties, or even birthdays and kid's parties.


As most of the hens were crafting novices, I needed something that they could sew by hand and decided on a zip up make-up bag. The finished bag looks professional, so I think it is really satisfying to make and is also useful which is important for converting newbies to crafting!

When I arrived to set up, I was pleased to see that the cake stands and containers that I'd chosen to display the materials fitted in very well with the vintage, tea party theme that the bridesmaids had gone for.
 |
| Set up and ready to start |
 |
| The yummy cakes provided for afternoon tea |
After the hens arrived and had a chat over tea and cake, they came up to choose their material and I showed them how to do the first few steps in small batches. Over the next few hours the ladies set about sewing while catching up and nibbling on more tea and cake. The best bit was seeing how genuinely chuffed the hens were with their make-up bags when they had finished.
 |
| The beautiful bride-to-be Hannah |
1. Running a workshop means that you will be so focused that you will forget to take any photos once things are under way. So apologies for the lack of action shots - here are a few that the bridesmaid kindly forwarded on to me. The main thing I forgot to get pictures of were the completed bags which all looked great. So you'll just have to trust me on that one until I can get hold of some photos.
 2. Beginners are nervous to start with and so sew relatively slowly. Sounds obvious I know and although I sort of knew that this would be the case, I think next time I would get the hens to make something a bit smaller.
3. Crafting workshops are fun! I had a great time and realised that my experience of running workshops in my day job meant that I really enjoyed the whole afternoon and wasn't as nervous as I thought I'd be. I would definitely be up for running more and now I'm thinking about a whole host of options and I have lots of ideas for other things to make at hen parties, or even birthdays and kid's parties.


Sunday 15 July 2012
Happy Birthday Holly
My goddaughter and very first Stars and Buttons model celebrated her 2nd birthday this week. Cue usual laments about how quickly time flies/they grow up etc.
I think she's getting even cuter, even if I am a bit biaised. Now I need to start working on some more toddler outfits...

I think she's getting even cuter, even if I am a bit biaised. Now I need to start working on some more toddler outfits...

Tuesday 10 July 2012
How to Make an Easy Peasy Envelope Cushion Cover
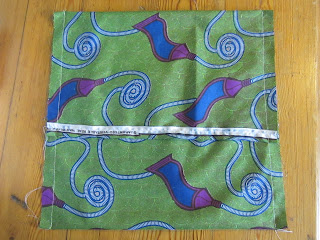
One of the many wonderful things about living in East London is the range of markets. Ridley Road Market in Dalston is a brilliant place to find lots of unusual and relatively cheap fabrics and has loads of great African tribal prints, which also happen to be bang on trend at the moment.
My friend Amber asked me to make a cushion for her, so I thought I'd take the opportunity to share a tutorial as it really is very easy. It's perfect for beginners and can also be sewn by hand if you don't have a machine.
You will need:


My friend Amber asked me to make a cushion for her, so I thought I'd take the opportunity to share a tutorial as it really is very easy. It's perfect for beginners and can also be sewn by hand if you don't have a machine.
You will need:
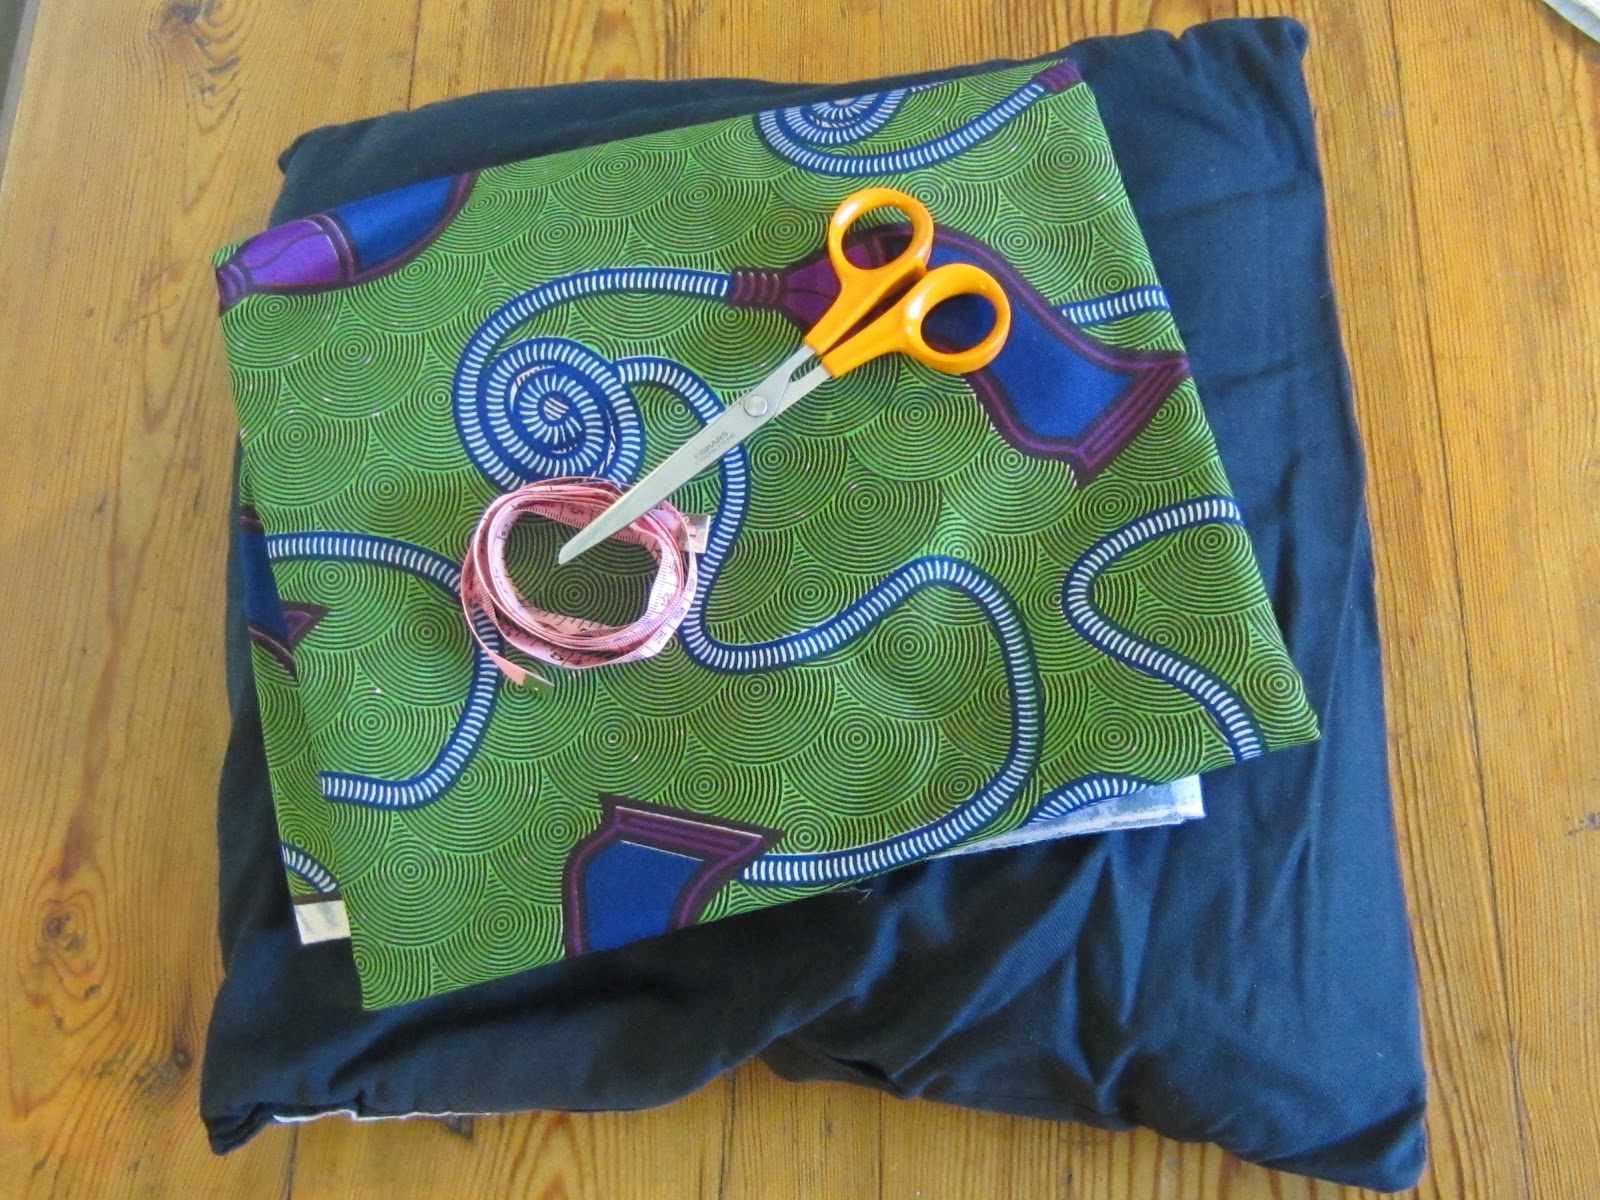
- Cushion filler - I used one that is 44cm x 44cm (you can buy these new or upcycle an old one)
- About 1 metre of material - I used 1.05m of material with a 0.5m width (the amount will depend on the size of your cushion filler)
- Measuring tape
- Pins & chalk
- Fabric scissors
- Cotton thread
- Sewing machine (or needles if sewing by hand)
1. Measure your cushion filler, the one I used was 44cm x 44cm.
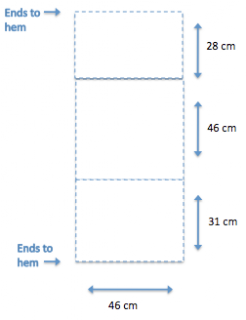
2. Now for your fabric; if it's wide enough you can cut out one big piece so that you have less sewing! Add on a few centremetres as a seam allowance - I've added 2 cm. Measure out your material, mark the length you require with chalk on the wrong side of the fabric and cut it out - the fabric I used was 46cm wide and 105cm long.

As you will see in the diagram below the two sections that you will fold over to form the envelope need to total more than the length of your cushion filler so that the material overlaps.

(If you are working out your own measurements, you don't need to worry about being too exact but a good guide is to take the length of your cushion filler then add on about a 1/4 of that length again then divide that total between the two sides of the envelope. Don't divide it equally but make one side longer than the other as this will look neater.)
3. Iron your material so that it is all flat
4. Fold over the ends by 1 cm each end, pin into place and then hem them on the machine (or by hand).

5. Lay the material right side up and put the cushion filler in the middle. Fold over the ends so that they overlap. Make sure it is quite tight around the cushion so that it isn't all saggy when it is finished. Use pins to mark where the folds are on the material.

6. Take the cushion filler out and then pin all around the edges.
7. Sew up the two sides and cut away any excess if necessary.

8. Turn the pillow the right way out and insert the cushion filler. And you're done.

9. Place on a chair and put the kettle on : )

Tuesday 22 May 2012
Stars and Buttons Go Screen Printing
 |
| The Boy in action |
 |
| The Boy's dog design |
Finding the time with busy day jobs has been a challenge, so I decided to enrol us both in a screen printing course to inspire us. Last week, we both fought hard to leave our office jobs a bit early to race over to Islington and spend the evening at the wonderful Make Lounge.
 |
| My fruit tea towels |
The Boy created some much better designs, including a dog and wiggly worm and flower combo, which he printed on a couple of tea towels along with some T-shirts that came out really well. (He's a perfectionist so insists these are not the 'final' designs!)
 |
| The Boy's worm & flower (and yes we're trying not to mention that it looks a bit phallic!) |
Next stop is our own designed, printed and hand made products. Exciting times!
Visit The Make Lounge website for more information about their classes.
Find out more about Helen Rawlinson by checking out her blog.
Wednesday 25 April 2012
April Showers
All this rain could get a girl down. But instead I'm looking on the bright side by celebrating cheerful brollies, shiny wellies and chubby raindrops.
(You can see my full April Showers treasury list on Etsy.)
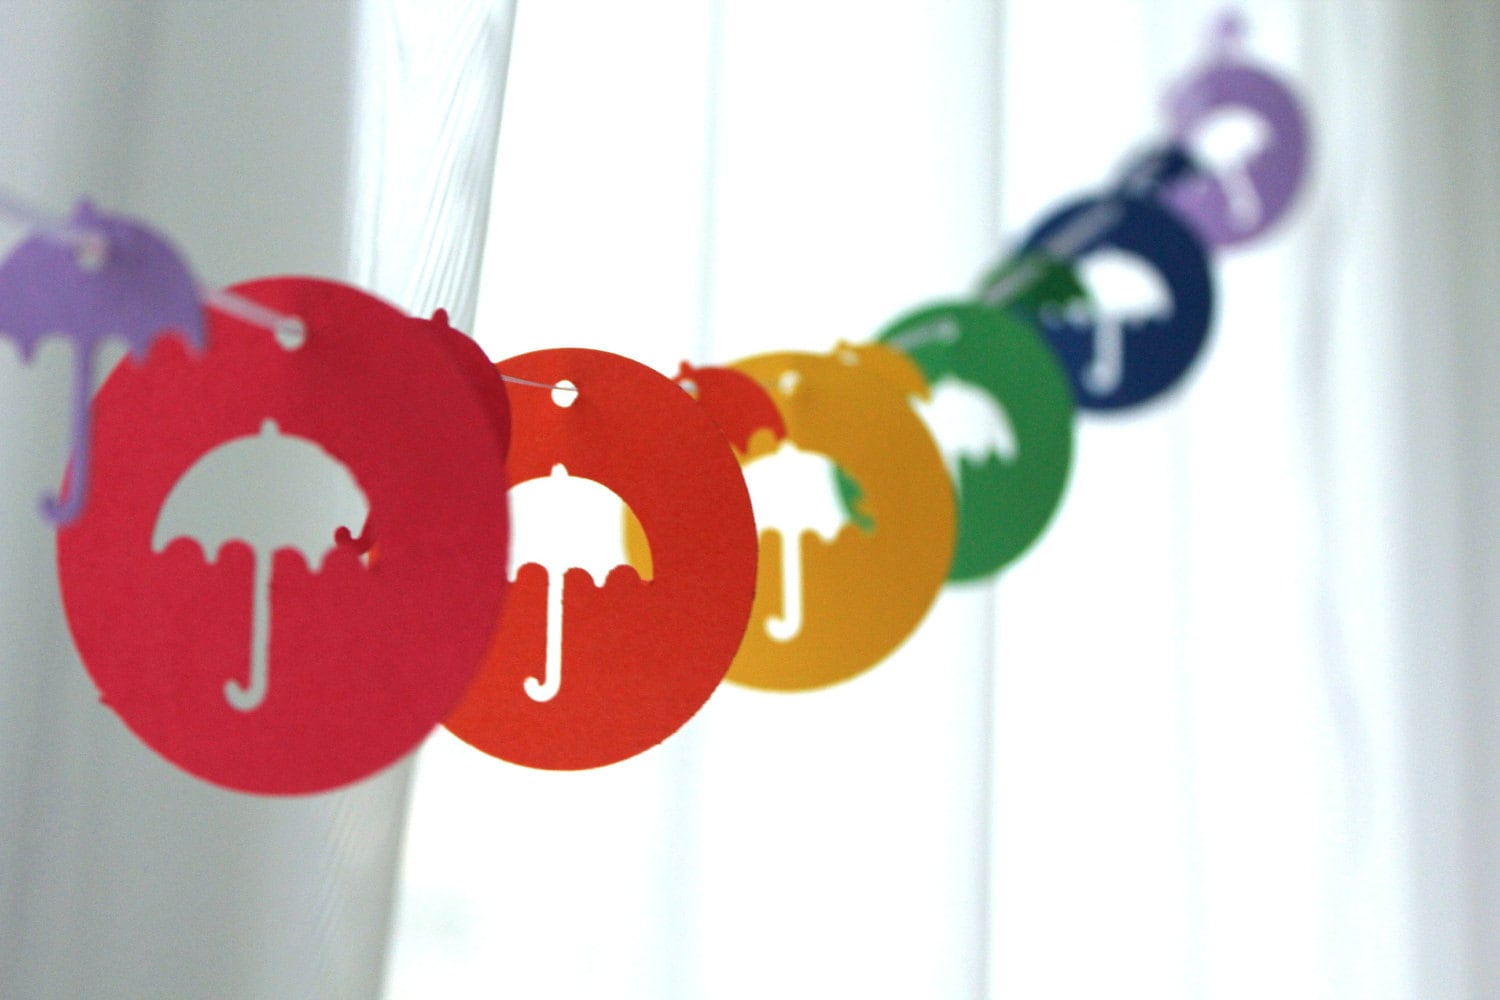 |
| Umbrella Garland by GFetti |
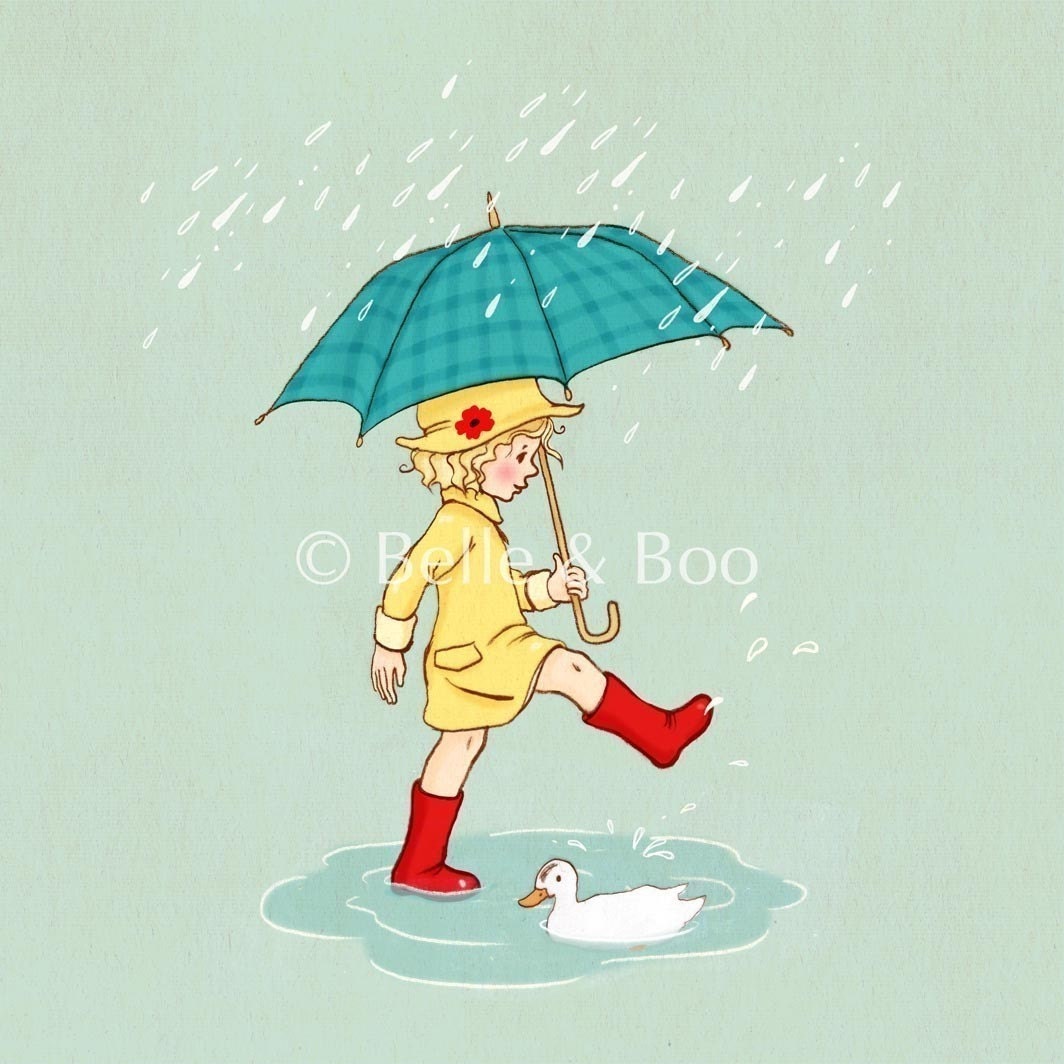 |
| Puddle Print by Belle and Boo |
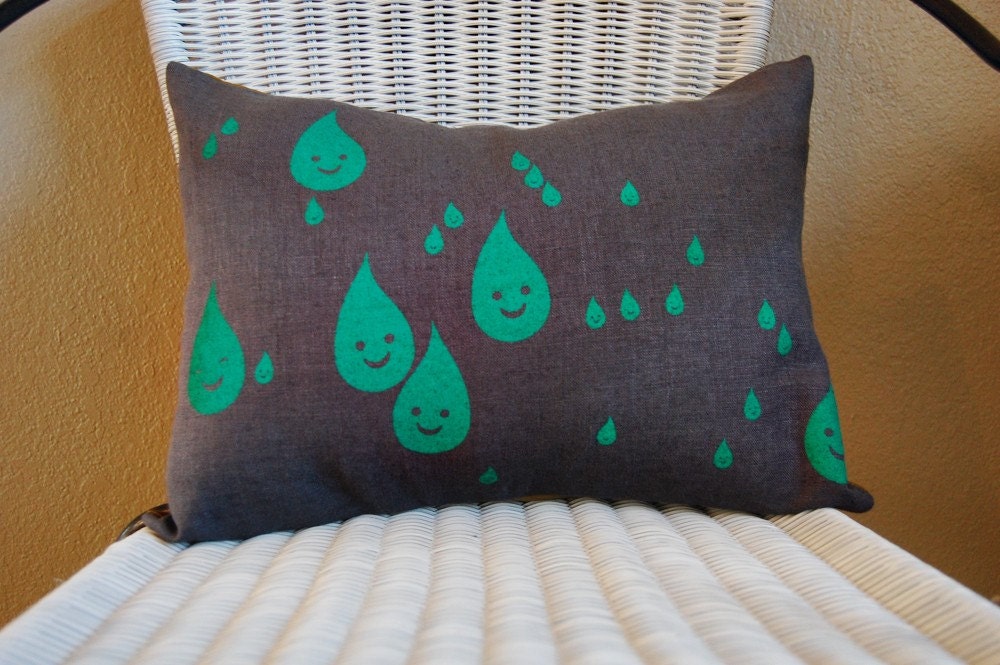 | ||||||||||
| Pillow by DesignKitty |
(You can see my full April Showers treasury list on Etsy.)
Tuesday 17 April 2012
Workshop Planning
Something great happened this week. A friend of mine asked me to run a crafting workshop at her sister's hen party this summer which I'm very excited about. Having organised a lot of hen dos myself, I know that the pressure is on to make it a fun and memorable day. Not to mention perfect (eek should I panic now?). I immediately thought of loads of crafting projects but it turns out beginners are afraid of sewing machines. So now I'm coming up with some options for an easy but useful item that they can sew by hand.
As I now make most things on my machine, it's been a good reminder of how much fun hand sewing can be. And with Spring trying to elbow it's way in past those pesky April showers, hopefully it will mean I can makes some things and enjoy the sunshine at the same time - will keep you posted on the planning progress!
As I now make most things on my machine, it's been a good reminder of how much fun hand sewing can be. And with Spring trying to elbow it's way in past those pesky April showers, hopefully it will mean I can makes some things and enjoy the sunshine at the same time - will keep you posted on the planning progress!
 |
| Spring blossoms in London Fields |
Sunday 5 February 2012
I Heart You
I knew that making a New Year's resolution to sew more would be pointless, at least until the day job calms down. However, I am determined to craft something for Valentine's Day rather than pay over-inflated prices for something "romantic" but tacky.
As ever Etsy is a great place for inspiration, so I thought I'd share some heart-themed ideas from my treasury list.
I love the simplicity of this handmade card by RainyDayColors:
These Lego heart necklaces from Luv4Sams are also simple but sweet:
And these hand-carved heart stamps from MemiTheRainbow look like loads of fun:
You can see more heart-themed gifts for Valentine's Day and beyond at my Etsy treasury list.
As ever Etsy is a great place for inspiration, so I thought I'd share some heart-themed ideas from my treasury list.
I love the simplicity of this handmade card by RainyDayColors:
 |
| (Photo via http://etsy.me/xAJ7VC) |
These Lego heart necklaces from Luv4Sams are also simple but sweet:
 |
| (Photo via http://etsy.me/yE0i3I) |
And these hand-carved heart stamps from MemiTheRainbow look like loads of fun:
 |
| (Photo via http://etsy.me/Ab3QEo) |
Subscribe to:
Posts (Atom)